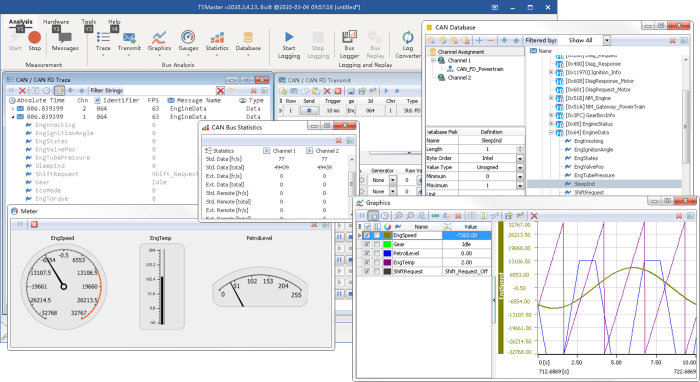
TSMaster is an automotive bus tool chain software launched by TOSUN TECH, which has become one of the most commonly used tools by the majority of automotive engineers, especially automotive electronics engineers. It is a domestic alternative to a very powerful development, simulation and test environment. the new function of TSMaster - automation module, this function module with graphic programming language as the skeleton, draws on the existing TSMaster applet, applet library, test system, Excel test system and other major modules, is the collection of TSMaster functions.
I. Introduction of automation module
The automation module is extremely flexible; on the one hand, it can be arbitrarily simple, so simple that an engineer without any programming experience can create high-intensity simulation and testing logic that only a professional software developer can design, as long as he or she has an idea; on the other hand, it can be arbitrarily complex, because each flowchart is supported by a complete small program behind it, and each action of the flowchart, inheriting the the high-performance advantages of compiled languages, can execute arbitrary logic. The emergence of automation modules has brought a boon to the engineers.
II. Basic syntax of graphical programming languages
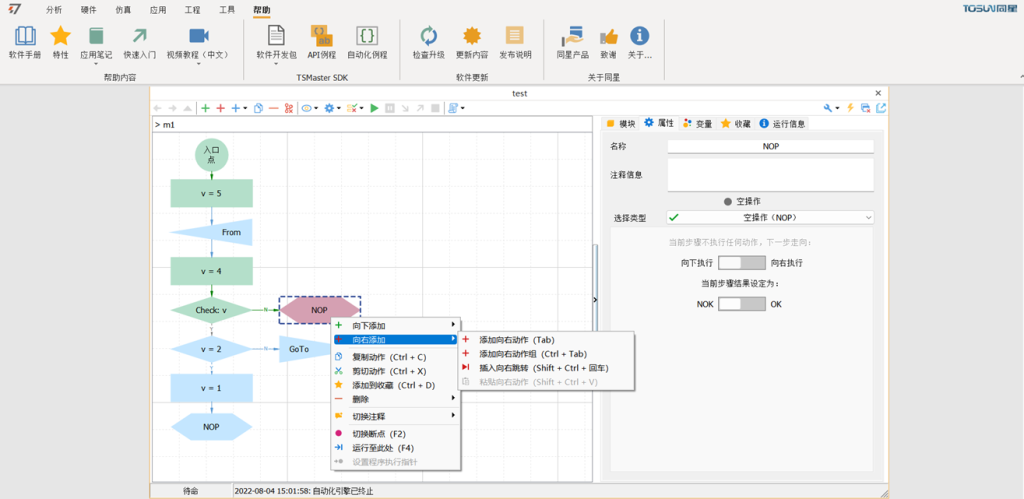
Open the Automation module and create several new sub-modules in the sub-module list on the right, each of which is a complete flowchart with a separate variable system and a backend applet. Select one of the flowcharts, select the entry point, click the green plus button, and you will get a list of actions to be executed downward, each of which is a separate execution unit of TSMaster graphical programming language. Each action is "NOP" operation "NoOperation" by default. Take NOP action as an example, when this action is executed, it will generate a NOP result, which is divided into "OK" and "NOK". OK" and "NOK" are two kinds of results, OK is green for meeting the expectation, NOK is red for not meeting the expectation, and not meeting the expectation means the occurrence of failure. More details about the basic syntax of graphic to language can be learned through the video ......
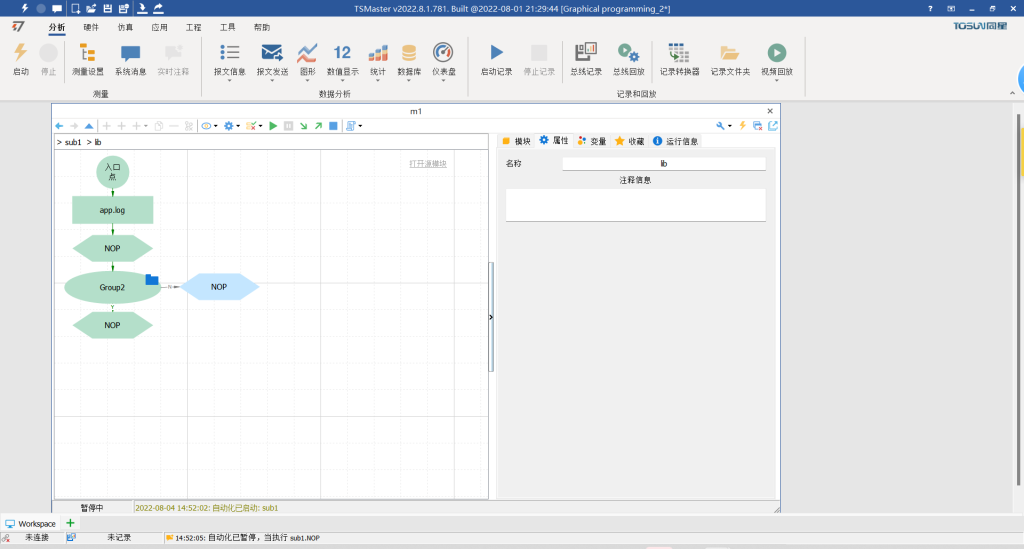
III. Online debugging methods for graphical programming languages
C++-based applets can be debugged online, but they require an external development tool based on Visual Studio to do so, while the graphical programming language we present comes with a debugger to facilitate the tracking and intervention of the logic. Create a new automation module named "test" and double-click on the first sub-module, renamed m1, where we will introduce how to debug the program. First of all, select the entry point, create a new series of operations downwards, add a variable V to the list of variables on the right, and set the initial value to "0". First, press the program shortcut key F9 to run the program, and you can see that the program is executed instantly. Next, we press the single-step shortcut key F8, the program will first wait for the next instruction at the entry point, at this time the entry point will be highlighted, indicating that it is about to be executed, but it is not actually executed yet, press F8 again, you can see that the entry point is executed and programmed green. The program comes to A5, A5 is highlighted and enters the link waiting for execution, continue to press F8 you can track every step of the program until the end of the program after running the last action. Specific follow-up debugging methods can be learned more through the video ......
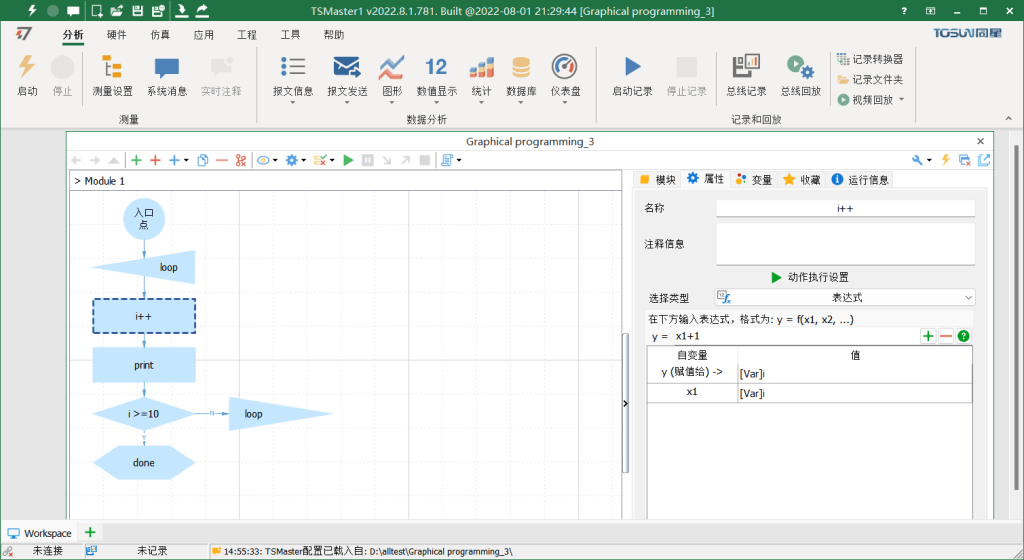
IV. Universal expressions of graphical programming languages
An important feature of the graphical programming language, Universal Expressions, which enables mathematical operations associating various signals in a codeless way. The specific steps can be learned more through the video ......
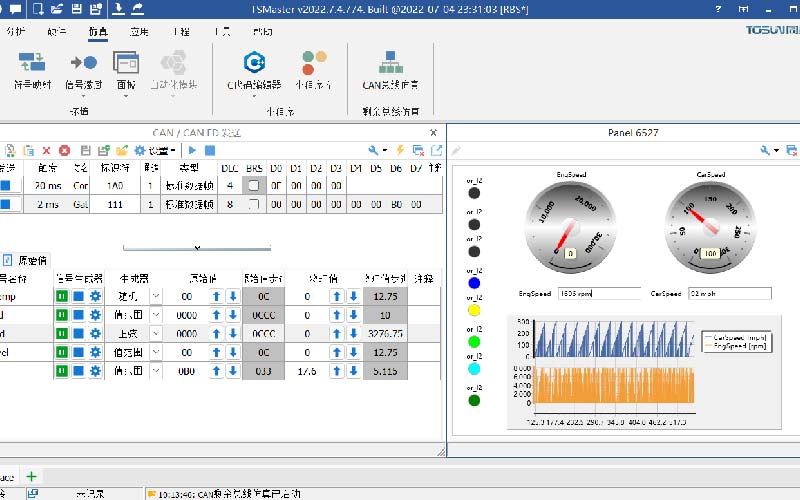
V. Measurement using automation modules
During the measurement process, it is important to note that we are concerned about when the signal is sent out, when it is received, what the received value is, etc. Sending can be automated using scripts, or by using the existing user interface, a feature that many users may not be aware of. We first create a new send window, add a frame of message set to send periodically, then use the automation module to control the automation and stop sending in this window, insert an action named send, set the action to API call, and select the applet system function. Then add a 3-second delay link, named wait, then select the system function of the applet, and choose 3000 ms for the delay parameter. Finally, add another action to stop the form. Next you can verify the written program. The specific steps can be learned more through the video ......
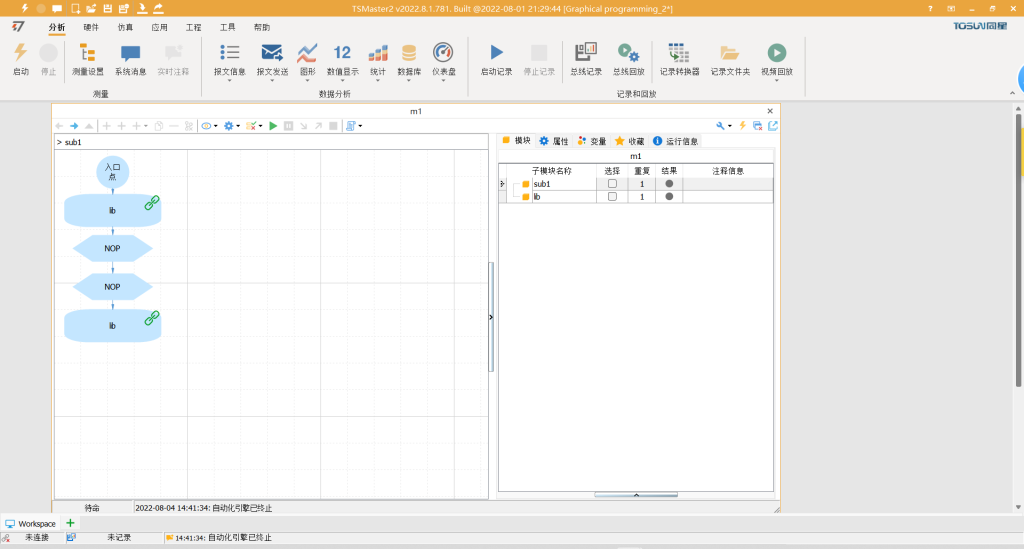
VI. Subsystem functions of the graphical programming language
The use of subsystems makes the designed program architecture clear and easier to modularize. By using subsystems, we can better plan the implementation of simulation and test logic, modularize the code, and make our development more efficient with less effort. Learn more about the steps in the video……


